Skip to content
UNLOCK MORE VALUE

Inventory gives you control you can count on.

Always know what’s on your shelves and what it’s really costing you. MarginEdge keeps counts and costs up to date automatically, so you can order smarter, reduce waste and trust your numbers.

With inventory, you unlock 🔓

  • Count sheets that match your shelves (and stays up-to-date)
  • Faster, easier counting with barcode scanning and mobile-friendly flows
  • Clear usage and variance insights that point you to opportunities
Inventory

Get started with inventory

Get your sheets organized and complete two counts. That’s when the insights begin.

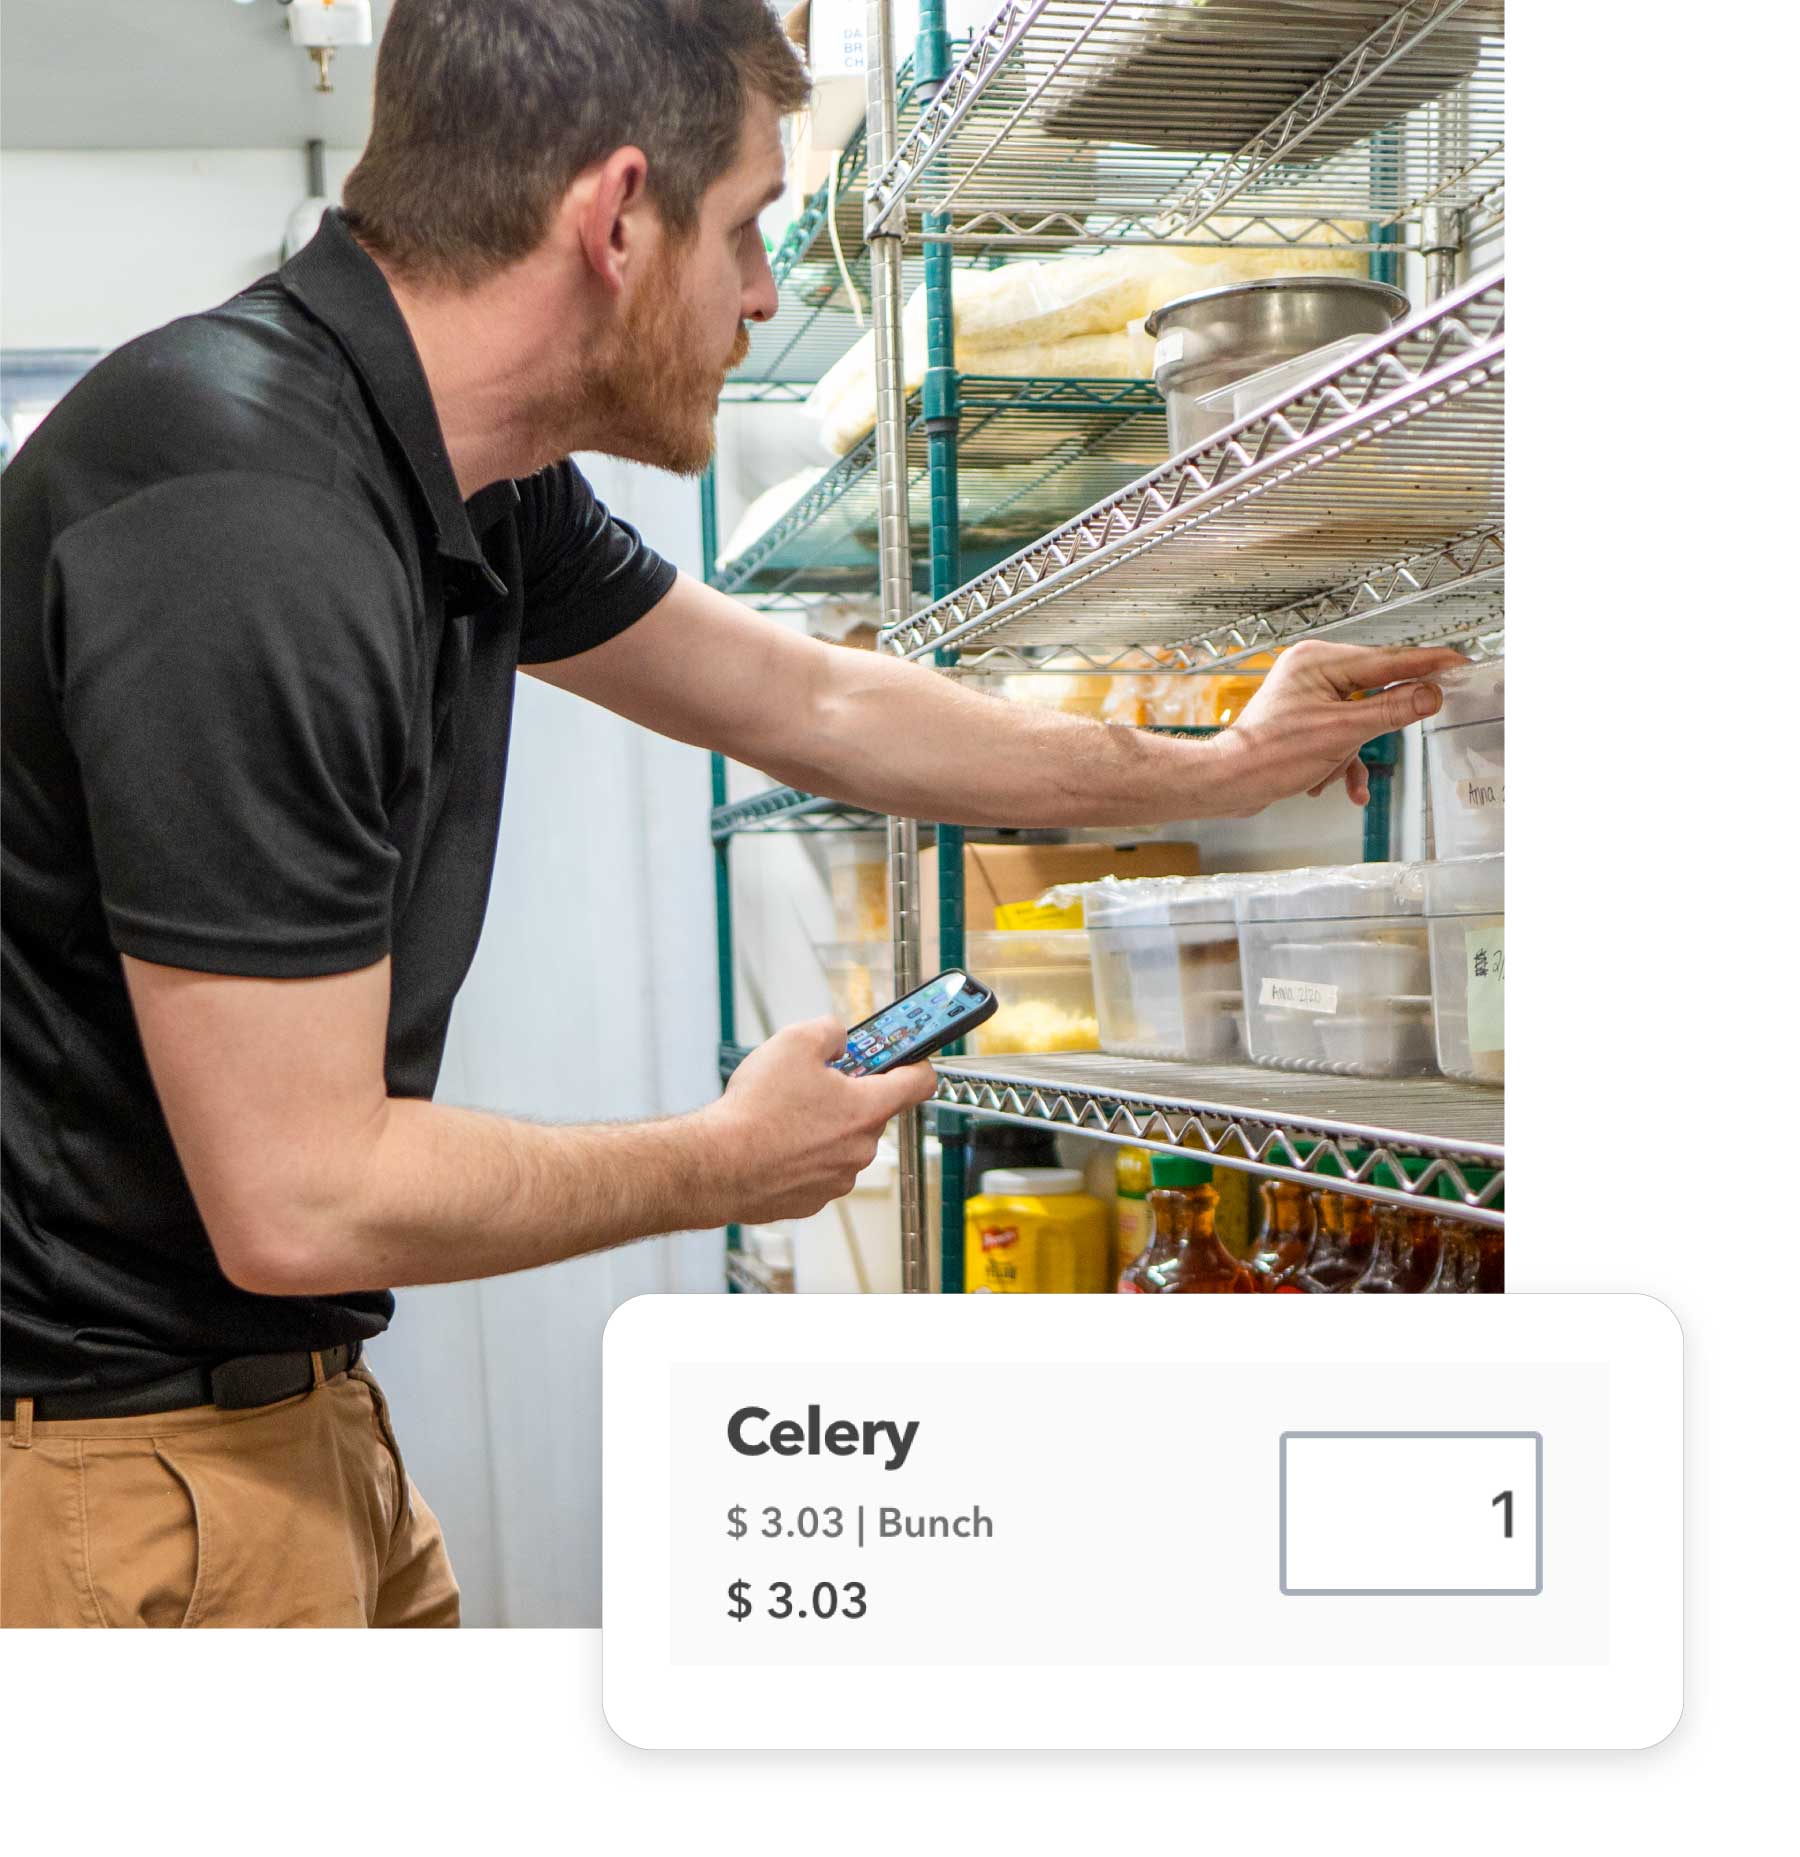
1. Organize count sheets

💡 What

Review your default count sheets and customize them so they reflect how your restaurant organizes stock: walk-in, dry storage, bar, etc. Learn more

🤔 Why

When your sheets match your shelves, counting feels faster and easier.

[me] got this

  • Products and prices update automatically as invoices are processed.
  • Count items in multiple units — we handle the conversion math.
  • Count on your phone or tablet (even in walk-in WiFi).
2. Take your first count

💡 What

Take your first inventory of your top ~20 high-impact items (the things that move the most money). Learn more

🤔 Why

Your first count sets the baseline and helps get you started toward reliable reporting.

⭐ Pro Tips

3. Take your second count

[need a good video for here for balance...what would help users go deeper than the first video?]

💡 What

Take a second inventory of the same high-impact items. Learn more <-- resource?

🤔 Why

Inventory insights only show up once you have two counts of the same items. This second count is where MarginEdge starts revealing usage and variance.

🗓️ When

Usually about a week (or up to a month) after your first count.

4. Review the Usage Report

💡 What

Open your Usage Report and see what was used (and what it cost) between your two inventories. Learn more

🤔 Why

This is the payoff: you’ll see actual usage, prices and dollars for your top items, so you can spot waste, trends and opportunities. 

🗓️ When

After both inventories are closed.

Inventory FAQ

When should I take inventory?

A full inventory is typically taken on the last day of your accounting period after close of business. This means the date you select represents the last day included.

You can also create smaller count sheets (like top 20 products) to monitor usage more frequently — without doing a full count every time.

Can I print my count sheets?

Absolutely!

To print a count sheet:

  1. Go to Inventory > Inventories

  2. Click Print Count Sheets

  3. Select the one you need

To print a completed inventory:

  1. Go to Inventory > Inventories

  2. Open the inventory

  3. Click 'Export As' and choose PDF or CSV

Why do some of my reports look blank?

Most inventory-based reports need two closed inventories before they show meaningful data. Once you’ve closed both counts, the Usage and Theoretical reports will populate.

Can more than one person count at the same time?

Only if they’re counting in different Count Sheets.

For example, someone can count "walk-in" while another counts "bar," if both locations have their own count sheets.

If two people edit the same sheet at once, they risk copying over each other’s work.

Regardless of how many count sheets you have, totals will roll up together for the day.

What’s the difference between “Saved” and “Closed”?
  • Saved means you’re still working on the count and are just saving your progress.
  • Closed locks the inventory and makes it available in reports and (if period-end) eligible for export to accounting.
You can save from web or mobile, but closing must be done on the web.
How do I post inventory to accounting?

Once you’ve taken and closed a period-end inventory, you can export it to your accounting system, making beginning and ending inventory values sync with your books cleanly.

Learn more about posting inventory to accounting


Hand drawn Check Mark (4) INVENTORY

Ready for what's next?

Now that you can see what you’re actually using, explore other tools that help you tighten margins, automate work and save time. Back to phase 3 overview →